Here are some ideas to keep them entertained, whatever the weather;
When the weather is wet it can be so hard to keep little ones entertained. Well, without the use of TV, phone and tablet screens anyway! Here are some of our favourite, indoor and outside activities.
Wet Weather Ideas
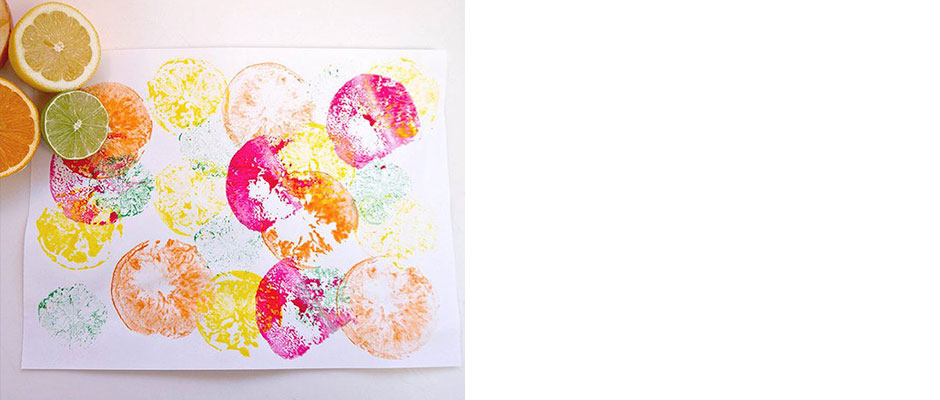
Fresh Fruit Painting
Fresh fruit is wonderful at this time of year but doesn’t have to be just for eating. Gather the kids, along with their favourite fruits, and enjoy a fun and easy art activity: fruit prints. This craft is perfect for kids of all ages.
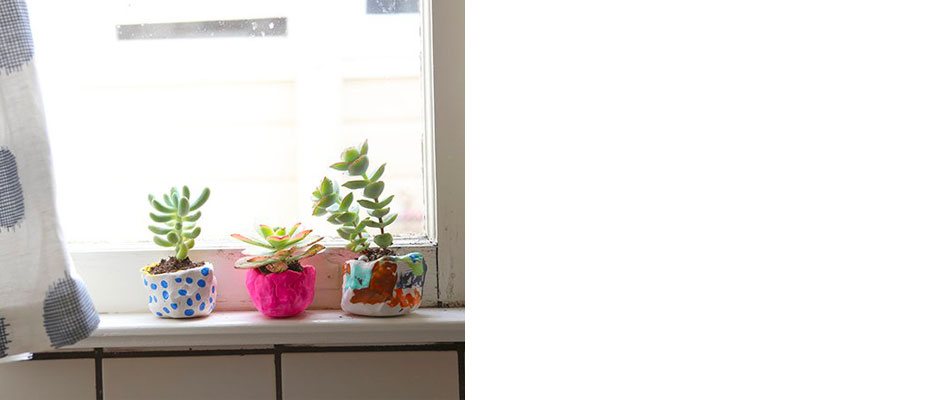
Mini Clay Pots
Bring the outdoors in by creating new homes for some special plants or herbs. Air drying clay is so easy to use and have extra fun by decorating them. Children love to plant seeds, water them and watch them grow. Fun and educational!
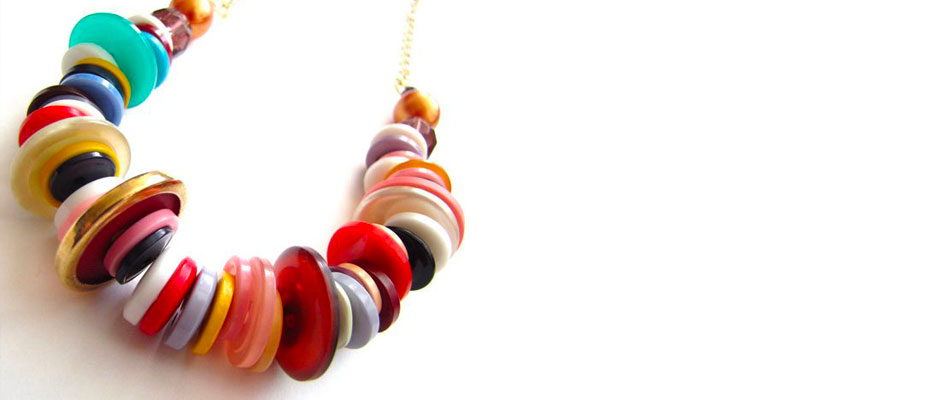
Button Jewellery
A button necklace or bracelet is easy to make, inexpensive and super fun! Get the children to help sort, pick and thread the buttons.
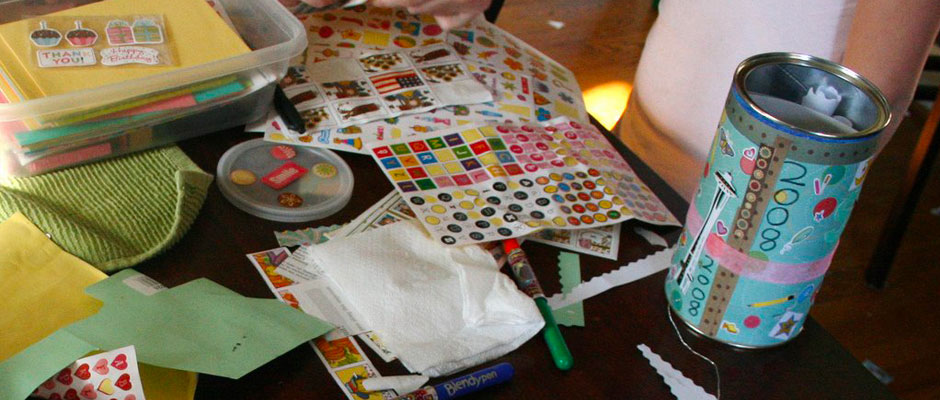
Create a Time Capsule
Create a “2017” time capsule. Ask the children to include a letter to their future selves with information like their class in school, Summer plans, their best friends’ names, hobbies they enjoy, favourite films, songs, and more. Also include a few mementos and photos. Make sure you seal the whole thing in an airtight container (a tennis ball can or Tupperware would work well), and wait until a sunny day to bury it in the garden. Just remember to make a note of where it is and when you want to open it!
Links to the products used:
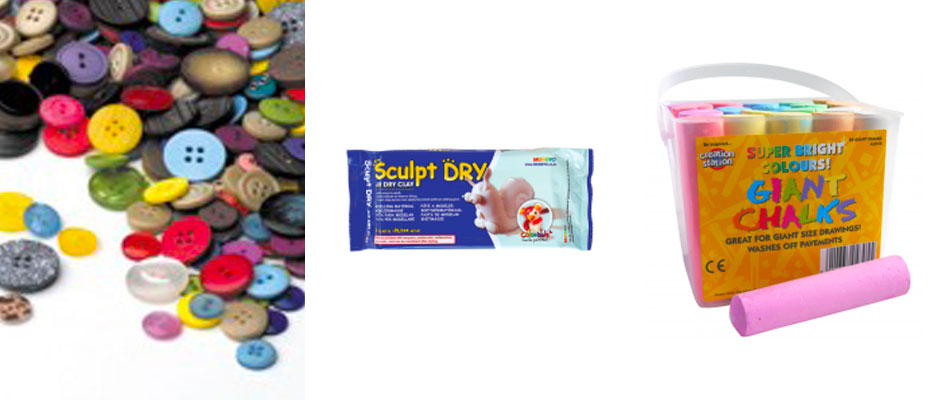
Assorted Buttons
Air Drying Clay
Giant Chalk
Outdoor Activities
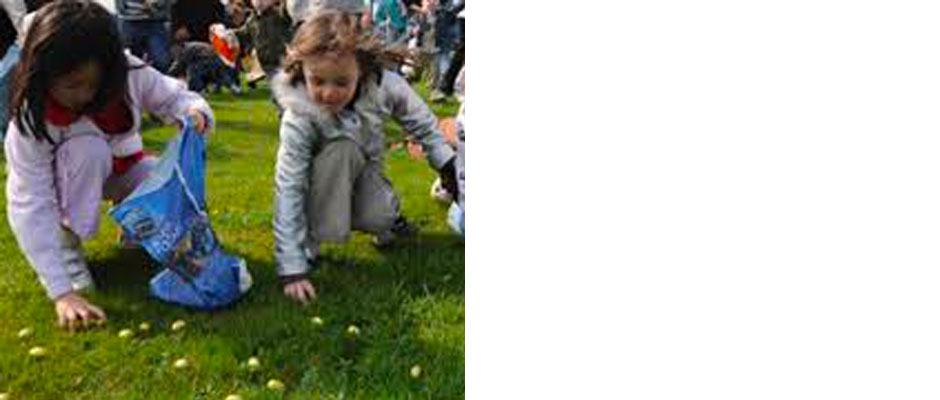
Treasure Hunt
Children love looking for treats and treasure. Think Easter egg hunt and hide lollies and treats in imaginative places. Small packets of raisins and Smarties are always a winner but you could use old party bag trinkets or cracker toys instead.
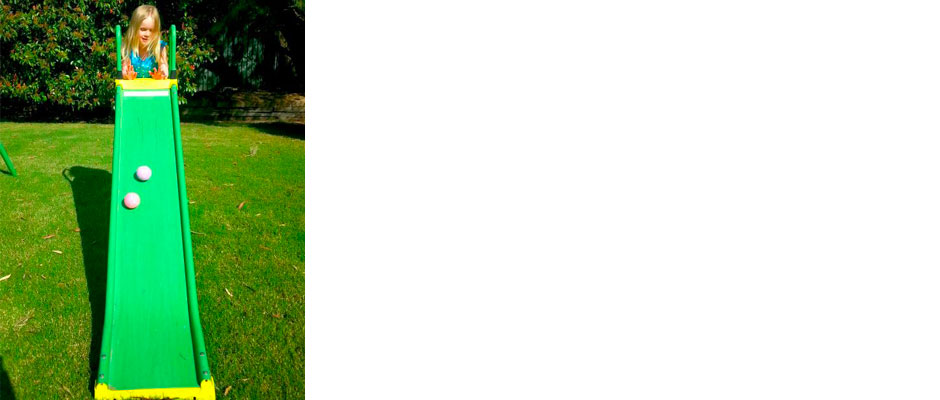
Science Themed Ball Game
- At least two tennis balls, in two different colours
- A hill, ramp or slide to roll your balls down
- Optional: balls of different sizes and weights (eg. cricket ball, basket ball, golf ball, beach ball)
How to play;
- Place two balls at the top of your slide (or ramp or hill) and release them at the same time.
- Observe which ball reaches the bottom of the slide first and record it on your paper.
- Practice prediction skills by guessing which ball will reach the bottom first.
- Practice data skills by using a tally system to record the results.
- Experiment with balls of different sizes. What do you think will happen? What actually happens?
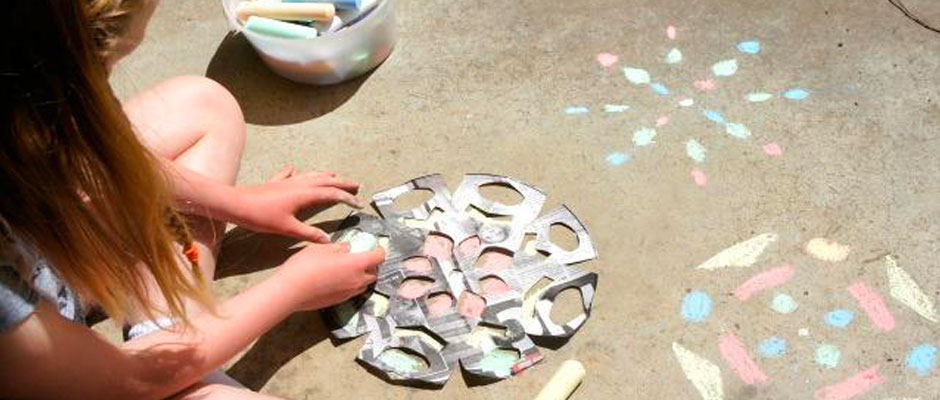
Stencilling with Chalk
Most children love to use chalk and it’s a wonderful way to keep them entertained. It’s great for summer time as any chalk is easily washed away from patios and pavements.
Here is one creative and very fun way to get children using chalk that has been inspired by mosaic art. It teaches children a variety of skills throughout the activity and the results are beautiful.
Begin by making a stencil using a single sheet of newspaper. Using a dinner plate, trace and cut out a large circular shape. Fold the circle in half three times. Draw basic shapes along the folded edges and cut them out. This is the same method as making a traditional snowflake.
Children can place the stencil on a flat surface and use the coloured chalk to create beautiful designs in the spaces that were cut from the newspaper. This is a great activity to promote experimentation of design. They’ll be so proud of their finished artwork.
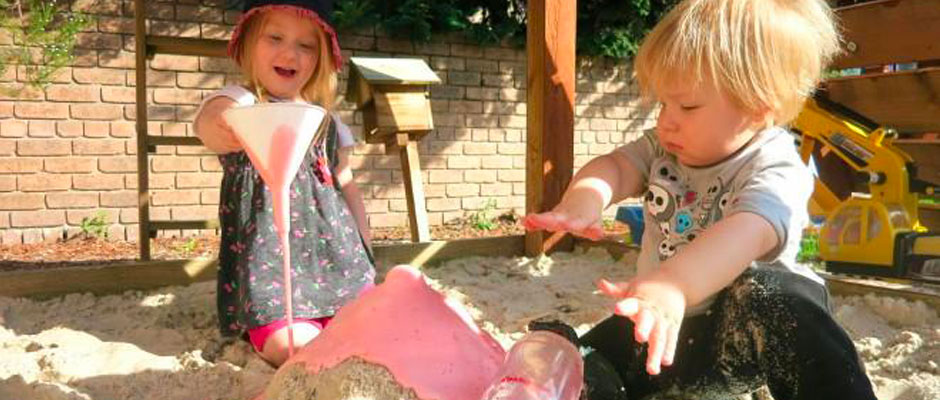
Sandpit Volcano
Make a cool sandpit volcano with lava pouring out of the top like a real volcano! The children will love this simple science experiment.
You need;
- Empty plastic bottle
- Warm water
- Bicarb of Soda (baking soda)
- Dishwashing liquid
- Vinegar
- Food colouring (optional)
- Spoon and funnel
How to make your volcano;
- Fill your empty bottle about 3/4 full with warm water (warm reacts better than cold water)
- Build the sand up around the bottle to form the sandpit volcano
- Add a squirt of dishwashing liquid (this helps the “lava” be more bubbly and explosive)
- Add a few tablespoons of bicarb soda (using a funnel could help here)
- Colour your vinegar with your food dye (optional)
- Pour vinegar (a cup will be plenty) into your bottle and get ready!!
Boom, up and out will pour your frothy lava!